Step-by-Step Printer Setup for Home & Office
Learn how to get your printer up and running smoothly with this easy-to-follow guide. Ideal for beginners, both at home and in the office.
1. Unbox and Inspect
Carefully remove the printer from its packaging. Check for all included accessories: power cord, USB cable (if any), installation CD, and instruction manual. Remove all protective tapes and films.
2. Power Up the Printer
Connect the printer to a power source and press the power button. Wait for it to initialize. Follow on-screen instructions if the printer has a display panel.
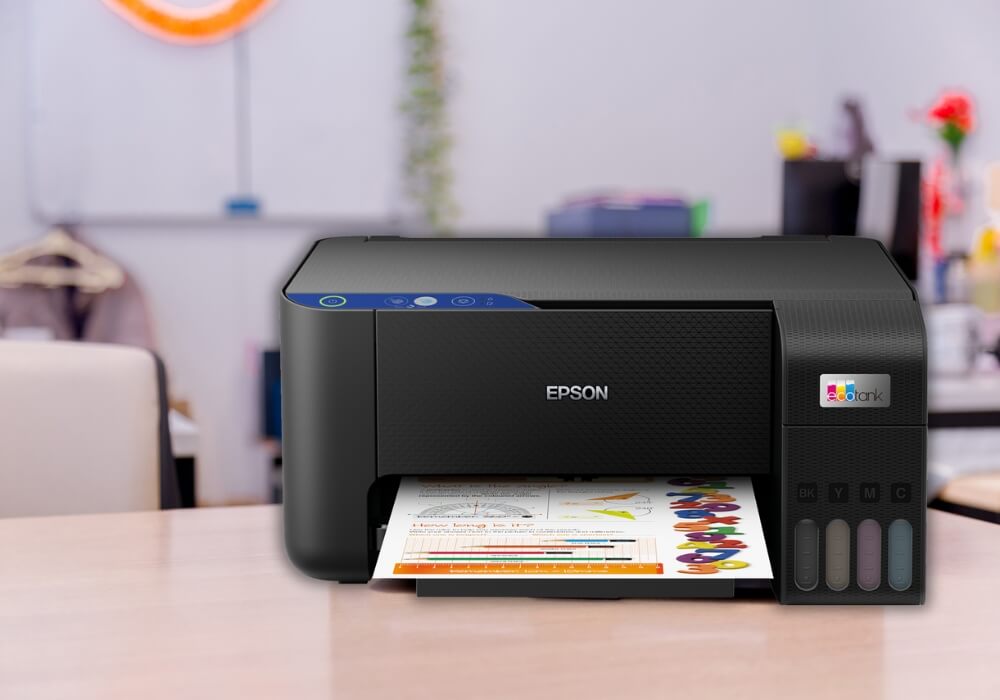
3. Load Paper & Install Cartridges
Insert the correct size of paper into the tray. Open the cartridge panel and install the ink or toner as per instructions. Ensure they click into place.
4. Connect to Computer or Network
- Wired Setup: Use the provided USB cable to connect to your PC or laptop.
- Wireless Setup: Use the printer’s control panel to connect to your Wi-Fi network. You might need your Wi-Fi name (SSID) and password.
5. Install Printer Drivers
Visit the manufacturer’s website or use the included CD to install the latest drivers. During installation, select your connection method (USB/Wi-Fi).
6. Set as Default Printer
After installation, go to your computer's printer settings and set this printer as the default one for easier access during future print jobs.
7. Test Print
Print a test page to ensure everything is working correctly. Check for alignment, print quality, and connection stability.
Tips for Ongoing Use
- Keep firmware updated.
- Use quality paper and ink for best results.
- Run print head cleaning periodically.